Let's go ahead and create a flutter project and you can name it anything you like.
Next we will see how to set up Firebase for integrating iOS and Android
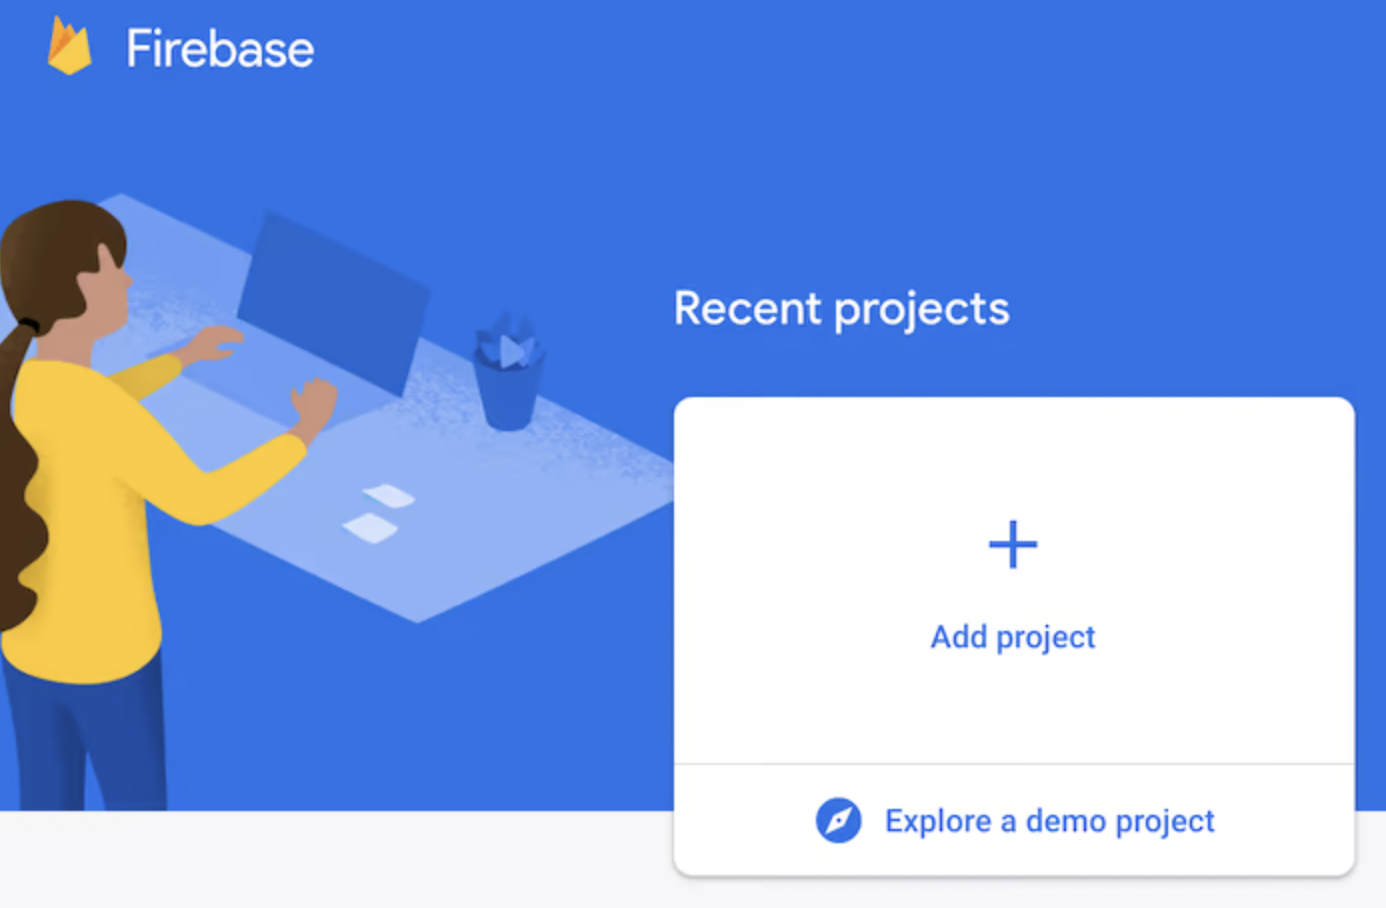
Go to the link below and click
https://console.firebase.google.com/
Then click on the plus button to create a new project
Then we will give a project name. You can name it anything
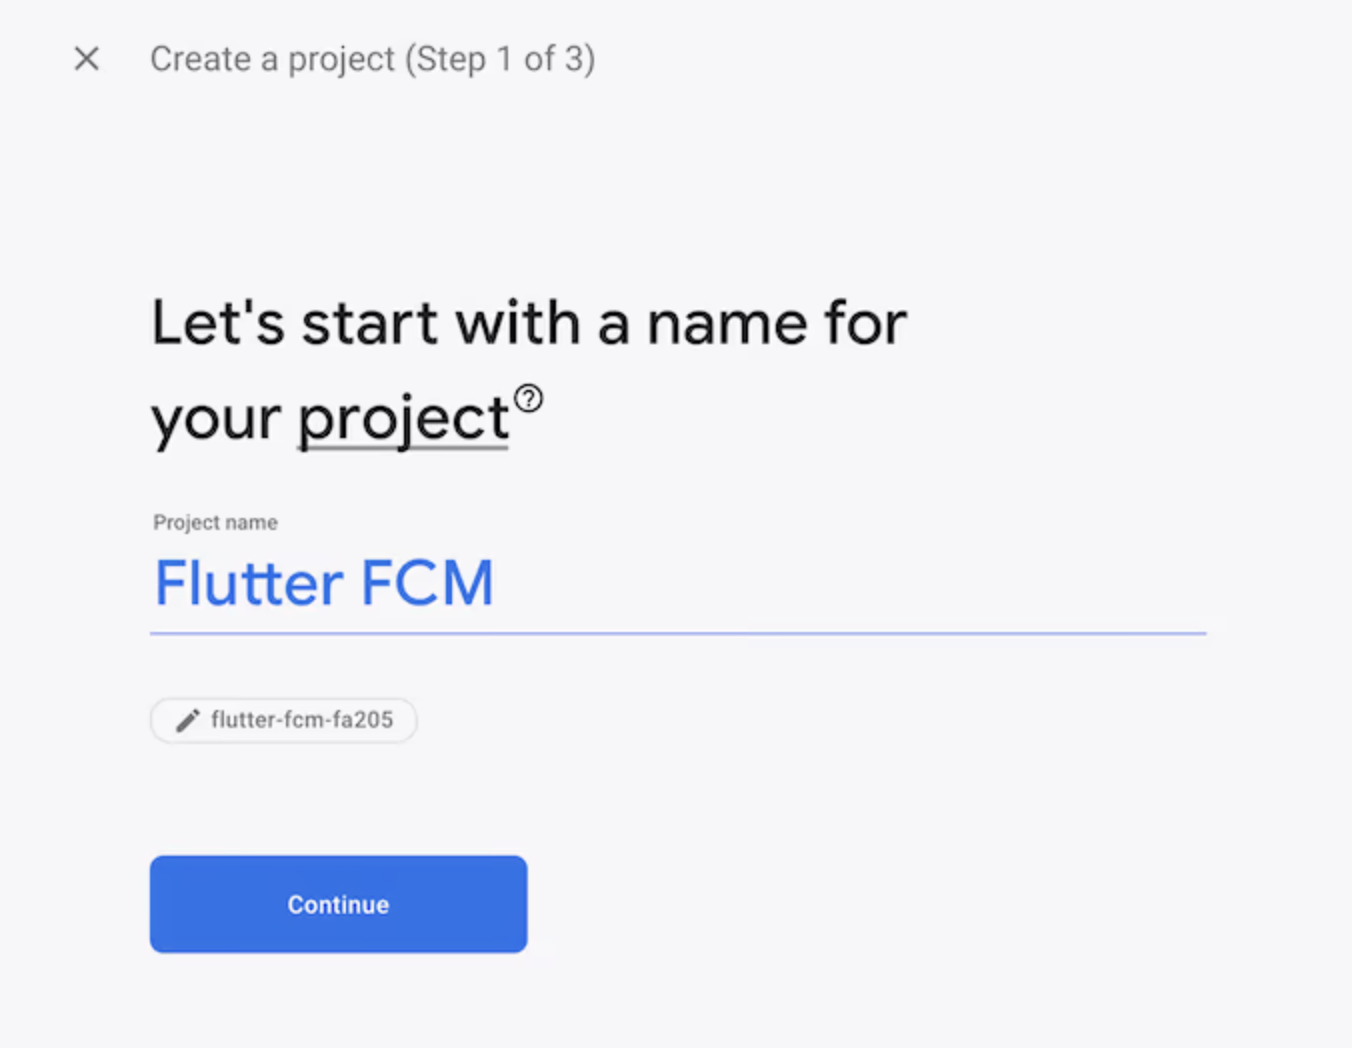
And then click on continue and then turn off google analytics

After that we will see how to integrate flutter iOS and Android app seperately
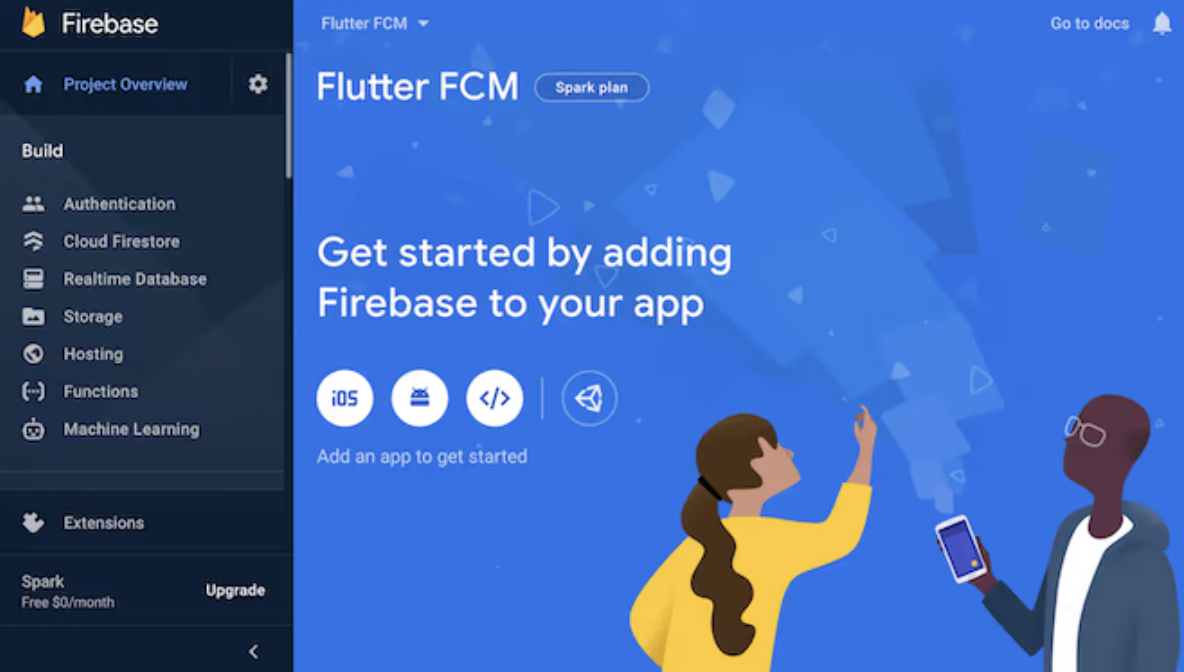
Let's integrate Android
Click on the android icon to create an Android project.

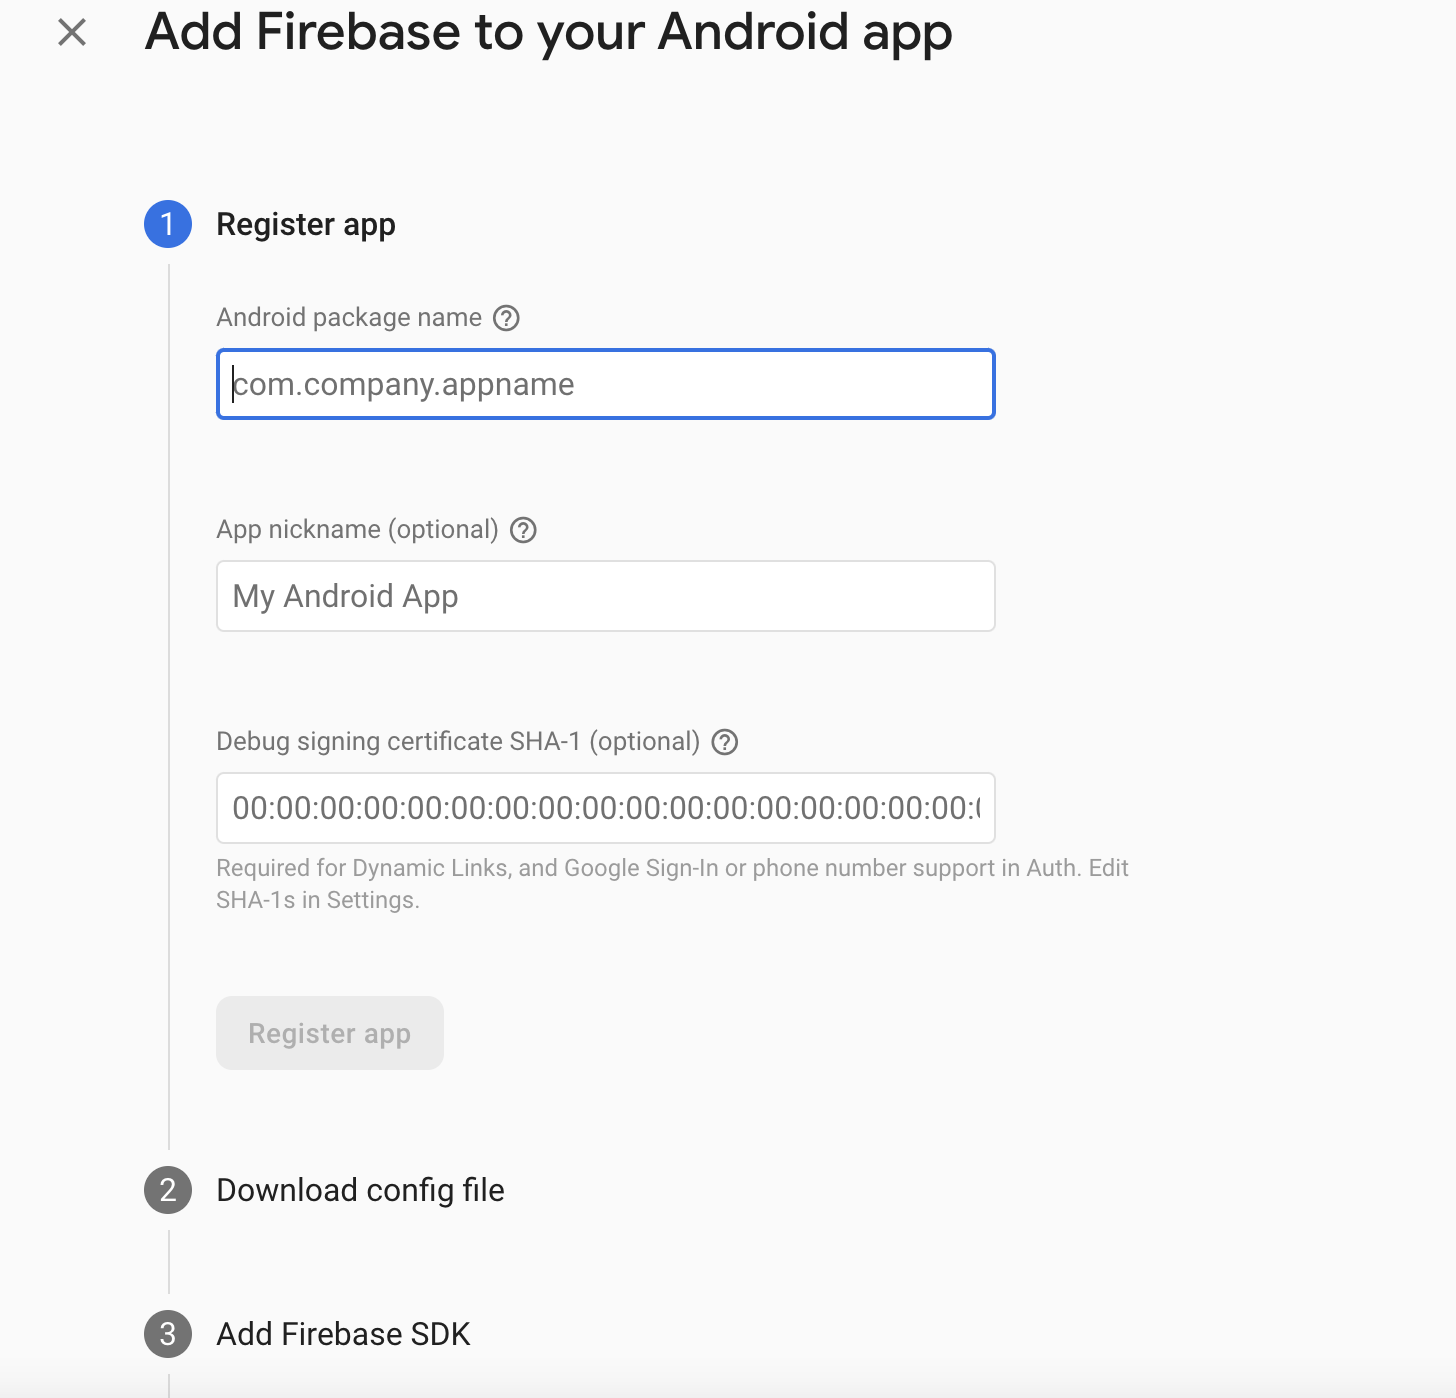
It will take you to a new page where you type in android package name and app anme
To find the adnroid package name go to file like below
project directory → android → app → src → main → AndroidManifest.xml
And then in second line you will see something like below
<manifest xmlns:android="http://schemas.android.com/apk/res/android"
    package="com.dbestech.com.db_tech_notify">
See the package name and copy it and then put in the form. The app name in the form could be anything.
Next you will need to do the sdk set up. Do as it tells you
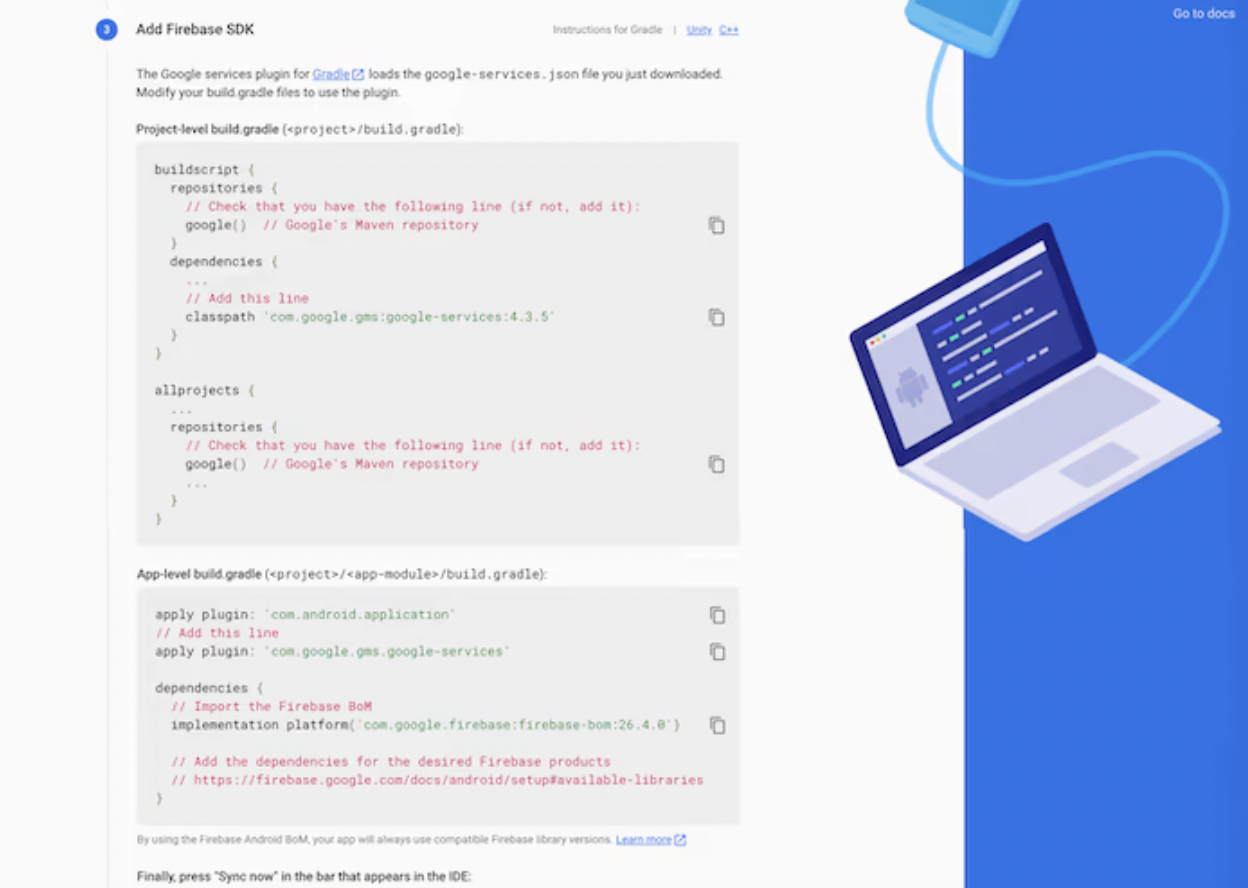
The places you need to set up are app/build.gradle which is
other one is project-name-->android-->build.gradle
and project-name-->android-->app->build.grade
Take a look at our main.dart file
Let's import the necessary packages at the top.
import 'package:db_tech_notify/push.dart';
import 'package:flutter/material.dart';
import 'package:flutter/material.dart';
import 'package:firebase_core/firebase_core.dart';
import 'package:firebase_messaging/firebase_messaging.dart';
import 'package:flutter/material.dart';
import 'package:flutter_local_notifications/flutter_local_notifications.dart';
import 'package:overlay_support/overlay_support.dart';
Now take a look at void main() function.
void main() async {
  WidgetsFlutterBinding.ensureInitialized();
  await Firebase.initializeApp(

  );
  runApp( MyApp());
}
We initialized Firebase before MyApp() and we also make sure other dependencies get initialized using WidgetsFlutterBinding.ensureInitialized();
We will take a look at MyApp() class. It's a stateless class. Put the code below
class MyApp extends StatelessWidget {
  @override
  Widget build(BuildContext context) {
    return OverlaySupport(
      child: MaterialApp(
        title: 'Notify',
        theme: ThemeData(
          primarySwatch: Colors.deepPurple,
        ),
        debugShowCheckedModeBanner: false,
        home: HomePage(),
      ),
    );
  }
}
Here, we are wrapping MaterialApp using OverlaySupprt(), so that we can view the notification on the screen.
Now create a statesful class HomePage() right below MyApp() class and put the code
class HomePage extends StatefulWidget {
  @override
  _HomePageState createState() => _HomePageState();
}

class _HomePageState extends State {
  late int _totalNotifications;
  late final FirebaseMessaging _messaging;
  PushNotification? _notificationInfo;


  @override
  void initState() {
    _totalNotifications = 0;
    registerNotification();

    super.initState();

  }

  @override
  Widget build(BuildContext context) {
    return Scaffold(
      appBar: AppBar(
        title: const Text('Notify'),
        brightness: Brightness.dark,
      ),
      body: Column(
        mainAxisAlignment: MainAxisAlignment.center,
        children: [
          const Text(
            'App for capturing Firebase Push Notifications',
            textAlign: TextAlign.center,
            style: TextStyle(
              color: Colors.black,
              fontSize: 20,
            ),
          ),
          SizedBox(height: 16.0),
          NotificationBadge(totalNotifications: _totalNotifications),
          SizedBox(height: 16.0),
          _notificationInfo != null
              ? Column(
            crossAxisAlignment: CrossAxisAlignment.start,
            children: [
              Text(
                'TITLE: ${_notificationInfo!.title}',
                style: const TextStyle(
                  fontWeight: FontWeight.bold,
                  fontSize: 16.0,
                ),
              ),
              const SizedBox(height: 8.0),
              Text(
                'BODY: ${_notificationInfo!.body}',
                style: const TextStyle(
                  fontWeight: FontWeight.bold,
                  fontSize: 16.0,
                ),
              ),
            ],
          )
              : Container(),
        ],
      ),
    );
  }
}
From the above code we can see that, we need to create method name registerNotification() and a class PushNotification
In the lib folder create class name push.dart and put the code below
class PushNotification {
  PushNotification({
    this.title,
    this.body,
  });
  String? title;
  String? body;
}
This is a model class, we use this to store notification info that we receive from the firebase server. After creating this class, don't forget to import it in your main.dart
Now let's go ahead and create method registerNotification() and put the code in it
void registerNotification() async {
    // 1. Initialize the Firebase app

    //await Firebase.initializeApp();
    // 2. Instantiate Firebase Messaging
    _messaging = FirebaseMessaging.instance;
    String? token = await FirebaseMessaging.instance.getToken();
    print("my token is "+token!);
    // 3. On iOS, this helps to take the user permissions
    NotificationSettings settings = await _messaging.requestPermission(
      alert: true,
      badge: true,
      provisional: false,
      sound: true,
    );

    if (settings.authorizationStatus == AuthorizationStatus.authorized) {
      print('User granted permission');
      // TODO: handle the received notifications
      // For handling the received notifications
      FirebaseMessaging.onMessage.listen((RemoteMessage message) {
        // Parse the message received
        PushNotification notification = PushNotification(
          title: message.notification?.title,
          body: message.notification?.body,
        );

        setState(() {
          print("We are listening");
          _notificationInfo = notification;
          _totalNotifications++;
        });
        if (_notificationInfo != null) {
          // For displaying the notification as an overlay
          showSimpleNotification(
            Text(_notificationInfo!.title!),
            leading: NotificationBadge(totalNotifications: _totalNotifications),
            subtitle: Text(_notificationInfo!.body!),
            background: Colors.cyan.shade700,
            duration: Duration(seconds: 2),
          );
        }
      });
    } else {
      print('User declined or has not accepted permission');
    }
  }
Put the method right below the variables of _HomePageState.
Let's create our last class in main.dart and put the code below
class NotificationBadge extends StatelessWidget {
  final int totalNotifications;

  const NotificationBadge({required this.totalNotifications});

  @override
  Widget build(BuildContext context) {
    return Container(
      width: 40.0,
      height: 40.0,
      decoration: BoxDecoration(
        color: Colors.red,
        shape: BoxShape.circle,
      ),
      child: Center(
        child: Padding(
          padding: const EdgeInsets.all(8.0),
          child: Text(
            '$totalNotifications',
            style: const TextStyle(color: Colors.white, fontSize: 20),
          ),
        ),
      ),
    );
  }
}
This class would get called from registerNotification() method as we want to display the notification as overlay.
Lastly call registerNotification() from your initState() method before super.initState()